Tuesday, February 5, 2013

weekend recap


Wheew…. finally sitting down at the computer after a spectacular whirlwind of a weekend! 

This past weekend I hosted my first Craftery Crop and I am feeling so inspired after spending 12 hours with 8 amazing women.  We settled in our little craft house for a full day of crafting after catching up on each other’s lives over some tasty donuts.    In between all the giggles and silly banter we {and by we, I mean everyone but me…} managed to get a few photos sorted, mini books completed, layouts in the book, and Valentine décor ready to display. I didn't get a single thing finished this weekend but I left a happy camper.


 name cards & table goodies

 the main room before the croppers arrived :)
 coffee filter flowers gave the tables a pop of color


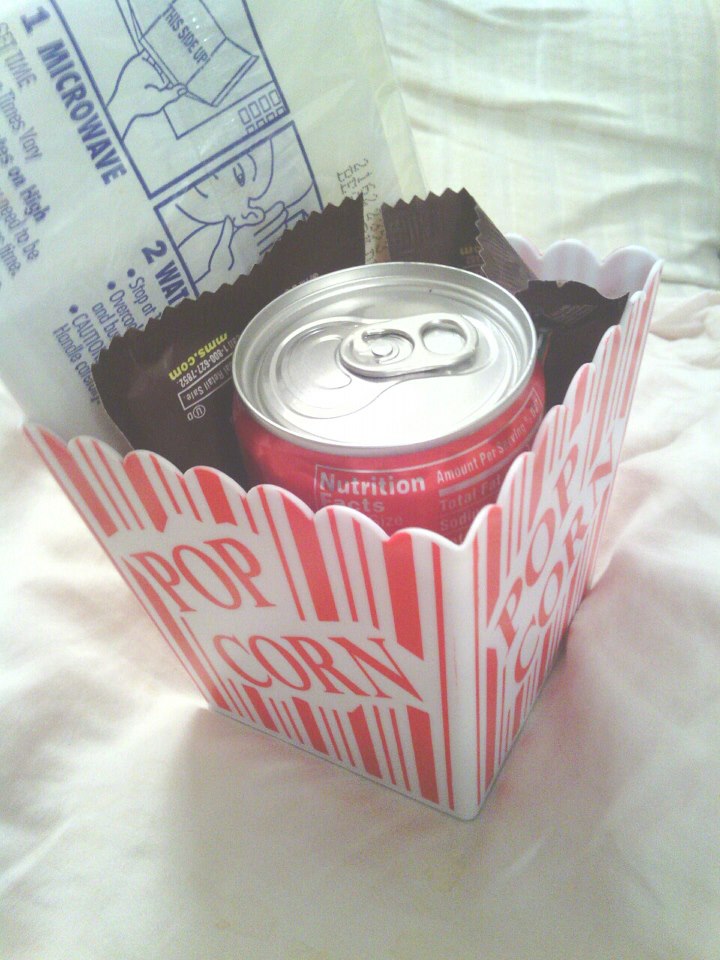
the girlies did table goodies for the group
friendship ivy, popcorn snack pack, and handmade bejeweled paperclip magnets!

we celebrated our sweet friend Melanie's Birthday with a delicious cheesecake


It brings me joy to bring happiness to others. 
I am so thrilled to gather and “spread the happy” with a sisterhood of creative ladies who share the same passion of living inspired as I do. Our day was filled with silly stories, laughs, tears {both happy & sad}, tasty treats, inky fingers and lots of cutting and gluing.
For me the best part of the day was positive encouragement and uplifting moments we shared with each other as strong creative women. To me that’s what it is all about. We all left with a full happy heart and a few crafty projects too. <3 p="">

If you are interested in more crop information please leave me a comment or send me an email and I will get back to you!

Happy cropping!


Tuesday, January 15, 2013

New on Etsy

I have two new listings on our Etsy store! Check them out! 

There's more coming soon! 
I am always willing to do custom and special orders, just shoot me an email or convo me on Etsy!


Monday, January 14, 2013

one little word


My one little word to focus on this year is CHANGE.

CHANGE is good
embrace CHANGE
CHANGE your perspective
CHANGE your focus
CHANGE your choices

Instead of making a bunch of resolutions that I will end up not following through with this year, I am challenging myself to take ONE word to focus on and apply it everyday.

I have to say, choosing ONE word to live inspired by was more difficult than I expected.  I ran through a long list before settling on CHANGE. 
{guess i have a lot i want to work on...}

I challenge all of you to choose ONE word to focus on and apply to your life this year.
I would love to hear your words! Leave a comment to inspire myself and others!


Thursday, January 10, 2013

Create Paper lovelies

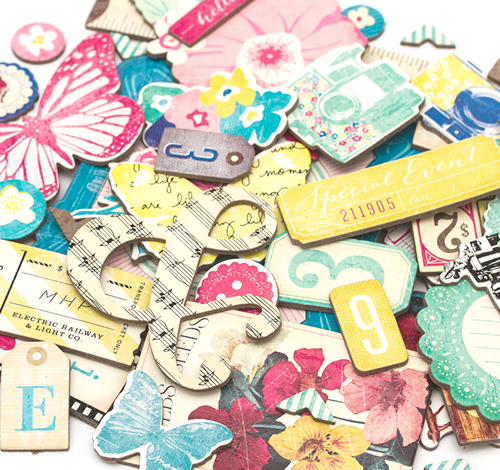
I love this time of year when all the new scrapbooking and paper art collections are being released! Once again Crate Paper has stolen my heart! Their collections have been my all time favorites to work with over the years. The quality of their paper is amazing, their style is eclectic, the embellishments are wonderful treats that can be used on more than just scrapbook layouts, and their color pallets are just stunning! For the new 2013 release they collaborated with the designer Maggie Holmes. She's adorable! Here are some peeks at her collection.


I can't wait to get my little hands on ALL OF IT!! I feel a project {maybe several} in the near future using all these amazing goodies!

Head over to Scrapbook Update for a long long list of sneak peeks of all the new releases!
Leave a comment and tell me your favorites for this year!

keep it crafty!


Wednesday, January 9, 2013

welcome 2013!

I am super excited to start a new year!

New beginnings
New challenges
New goals
New adventures
New perspective

I am also excited to start blogging more. Don't know who's out there reading but I am going to make it part of my personal artful journey to blog. So bear with me, I'm sure it will be a while before I get into my grove, but I hope in the mean time I can motivate you to live inspired.

I wish everyone an amazing 2013!


Friday, December 28, 2012

Distress Shimmer Crackle letters


Hello crafty friends! I had so much fun teaching how to make my distressed shimmer crackle letters in my workshop, I thought I would share a quick tutorial on the technique!


Supplies:
~ G.C.D ChipArt chipboard alphas (I purchased mine at my LLC Whim So Doodle for $6.50 awesome deal!)
{i am in L O V E with these letters, you will see me use them again for sure}
~ Perfect Pearl Mist {Heirloom Gold} by Ranger Ink
~ Distress Saint {Walnut Stain} by Ranger Ink
~ Distress Crackle Paint {Picket Fence} by Ranger Ink
~ white acrylic paint 
~ Stickles glitter glue {Platinum}  by Ranger Ink
**(I purchased all my supplies at my  LLC Whim So Doodle)**

Tools:
~ hot glue gun
~ scissors
~ heat tool
~ paper towels
~ spray bottle (i used my Mini Mister by Ranger) with water

Step 1
paint a quick base coat of white acrylic paint on letters and dry with heat tool
      this is just a base coat so don't spend a lot of time making it perfect we are just going to cover it up. I think it makes a noticeable difference when using the white crackle paint to start with a white base. if you paint directly on the chipboard your white crackle can have a grayish/brown tone. we want a nice bright white.

Step 2
paint your letters with white crackle paint. set aside until you see small crackles forming around the edges. once you see crackles you can heat set the paint with your heat tool until dry
        Ranger's crackle paint allows you to control the size of your crackles by the thickness of paint you use. for these letters i wanted a smaller "tighter" crackle so i used a nice medium layer of paint. if you can see the chipboard your paint is not thick enough. by nature i tend to paint with a light hand so when i think i'm done i add a bit more and it's perfect!

Step 3
using the edge of your scissors randomly scrap off some of the paint around the edges for a weathered look
       if your paint isn't dry you may take off more than you want…


 Step 4
prepare to work quickly! have your water mister and Walnut Distress Stain at hand
{you may want to work on a Craft Mat or newspaper for this}


spritz a paper towel with water and set near your work area 
 
work one letter at a time - spray letter liberally with water, quickly rub the Walnut Stain over the letter and wipe off excess with paper towel. you should see the stain soak into the crackles and edges where you distressed. this step is to highlight the crackles.
         the more water you use the more Stain you will be able to remove.

repeat the process to keep adding color to the letter until you are satisfied, dry with heat tool


...whew... almost done :) lots of steps, I know but it's worth it!


Step 5
spritz your letters with Perfect Pearls {Heirloom Gold} for the shimmer top coat.  dry with heat tool

Step 6
use your finger to apply Platinum Stickles to the edges of your letters. set aside to dry and admire your beautiful distressed shimmer letter!
                  i don’t recommend heat setting Stickles, it can bubble into a sticky mess. 


{p.s. it was super hard to get a great photo showing all the detail and shimmer on each letters, guess i need to brush up on my photo skills..... you must see them in person!}


Hope you enjoy this technique and try it yourself! 
Keep It Crafty!


Tuesday, November 13, 2012

homemade holiday inspirations

Turkey has been eaten.
Friends and family have gone home.
Dishes are clean and the house is back in order...

Let the decorating begin!

I absolutely love decorating for the holidays! I get a tiny twinkle in my eye the day after Thanksgiving when I pull out my boxes {and boxes and boxes} of Christmas garb! I am particularly excited about this year since it will be my first Christmas with my sweet hubby in our home together. 

I have been thinking, planning and PINing my inspirations for my decor all year. I try to use a color scheme as my starting point for my decor every year. In the past I have been all over the board from hot pink and lime green to "Suzie Lu Who" bright red and green. Last year I toned it down a bit and went with a shabby chic white and cream theme. I want to stick with the vintage shabby style {it's my favorite} but this year I am going to add a touch of vintage reds and greens for a pop.

I am such a visual person, I need something in my hands that I can pull my colors from. I found the perfect combo of vintage shabby and traditional colors in scrapbooking papers by Authentique {from my favorite crafty store Whim So Doodle of coarse}. I just love the slight vintage shabby twist on the traditional colors. Now that I have my color scheme picked out and my inspiration board {which used to be in a notebook but now is a Pinterest board} I am ready to start shopping and creating for Christmas 2012!  Here's a sneaky peek at a few of my treasures for this year! 


I try to create a few new handmade decorations to add to my collection every year in addition to the special little store bought treasures I pick up. I was so in love with the scrapbook papers I found that I couldn't help but jump into my workroom and start creating!

First, I made a small wreath out of paper cones with sparking glass glitter edges, lovely ribbons, vintage tinsel & hand stamped details.


and I kept going....I made a shabby little chipboard banner. I think my favorite part about this banner is the JOYFUL lettering. Let me tell you I had my heart set on using these letters and it was quite the task to get my hands on them! After I had my perfect letters, it took me a bit to come up with how I was going to cover them but after a few trials, many paper towels, and very inky fingers, I came up with the most amazing shabby distressed shimmer technique! I just love it!


So this is the start of my inspired Christmas for 2012 and it's only going to grow from here! 


I am filled with joy when I get to share my own inspirations with others and thrilled to be teaching both of these crafty projects at Whim So Doodle on December 1st. If you are interested in taking the workshops you can sign up at Whim So Doodle 727-827-4911. 

I will also be offering both projects pre-made for sale on my Etsy store. 


I hope I can pass on the joy of creating and putting a handmade touch to your Holiday decor!